Rich Skipworth’s Voyage into the unknown
This article appeared in ussue 534 of the Jester Magazine, September 2019
In the course of rummaging about in Clip Studio’s menus and palettes, I stumbled upon something quite amazing. 3D stuff! It’s built in to the software, and it’s gob-smacking!
Material [3D] menu
Open up a new canvas in Clip Studio, then from the Window menu, drag down to Material, then choose Material [3D] Something like this turns up.
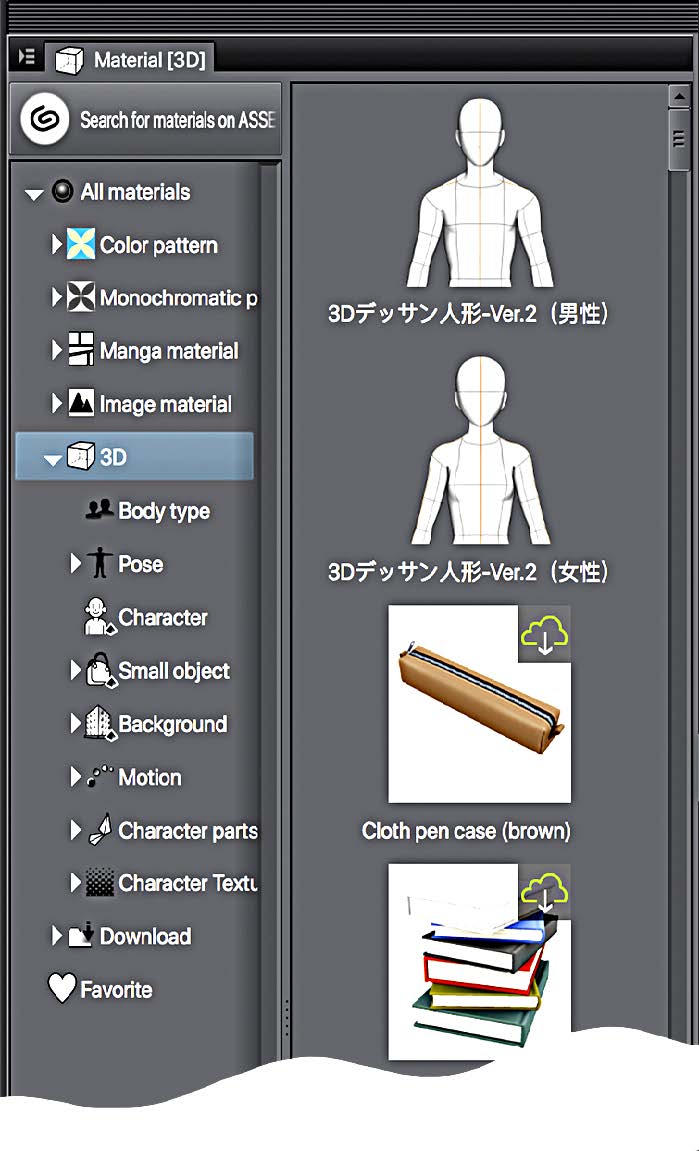
The Material 3D menu
The icons on the right hand side represent all the 3D “materials” available. A “material” in Clip Studio is basically something you can use in an illustration. It may be a pattern, a texture, or in this case, a 3D object.
There’s quite a long scrollable list, and some of the icons have a small cloud & arrow symbol in their top right corners. These are materials that can be downloaded for free from the Clip Studio server. The icons without the cloud/arrow symbol are materials that you already have installed.
Click and drag the torso icon at the top of the list into your new blank canvas and you wind up with a picture of a human figure, a bit like one of those poseable wooden mannequins you used to get for help with figure drawing, but far more lifelike. There’s a female version too.
Scroll down the icon list and you’ll find several other poses.
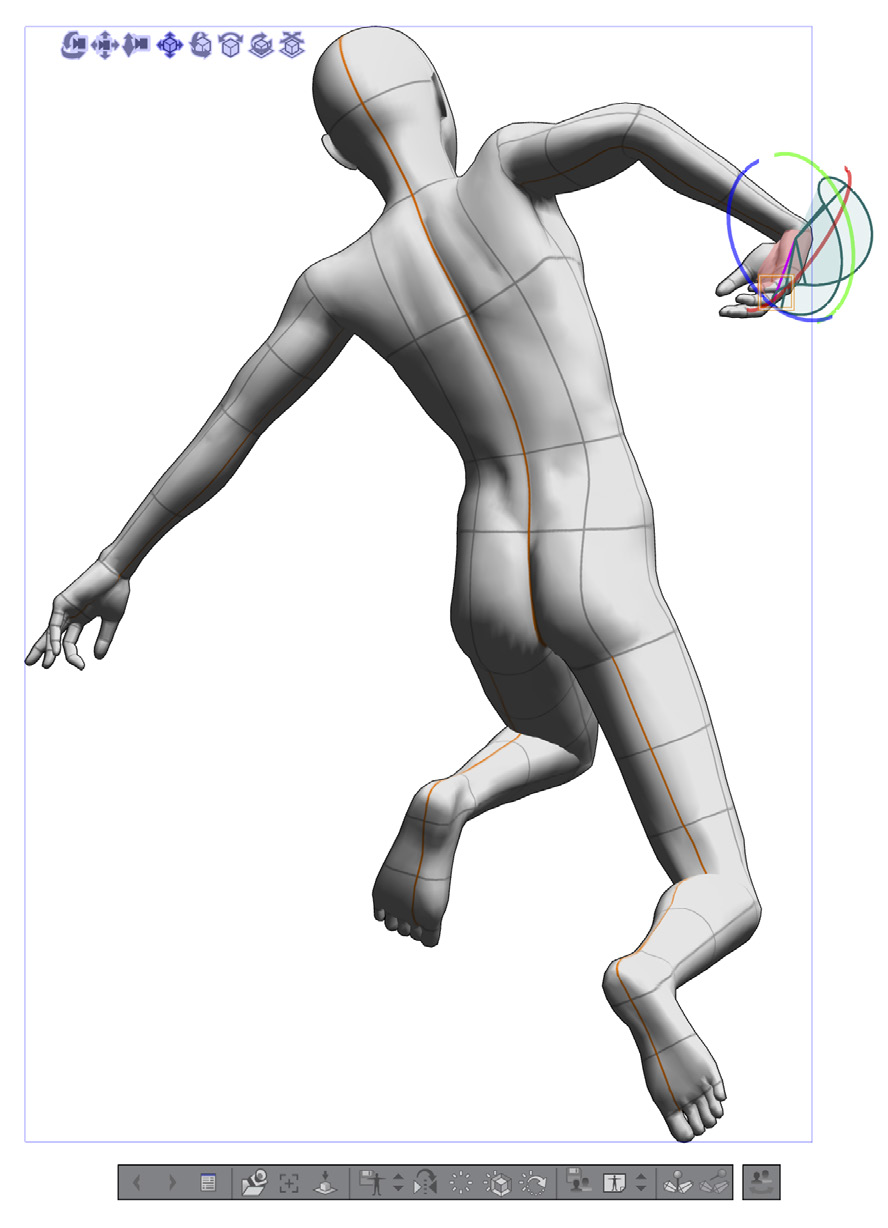
The amazing thing about these mannequins is that they are both fully poseable and are actually 3D objects that you can rotate, tilt, and scale. And by fully poseable, I mean fully poseable! You’ll notice the figures have a grid on them. Click on any of those grid squares and an area of the figure will be highlighted. Then just drag on that highlighted area and you’ll be able to bend the figure and pose it exactly how you want, even down to the positions of the fingers!
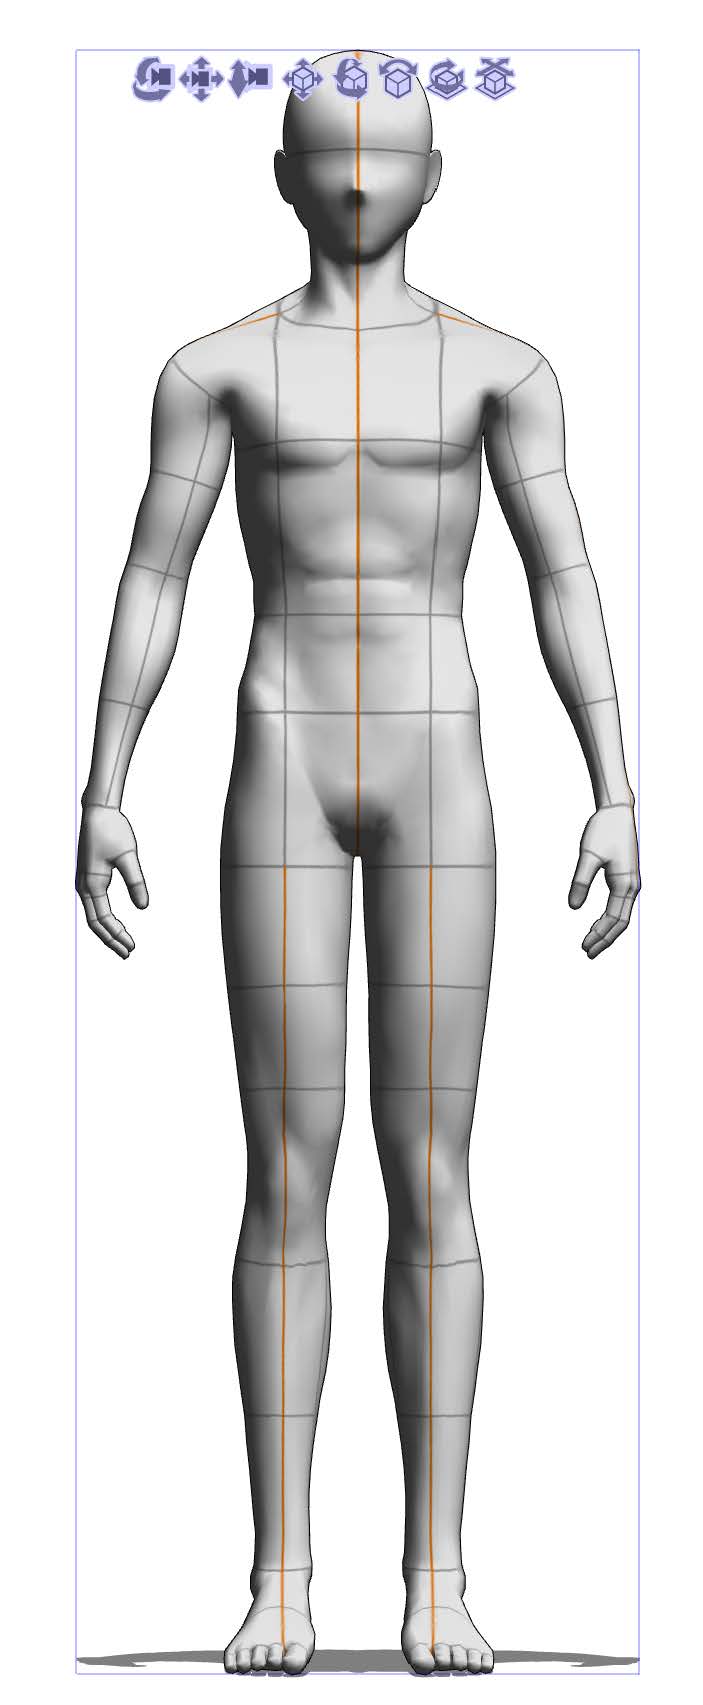
The 3D poseable mannequin
A single click on a figure brings up a set of basic positioning controls that look like concentric rings.
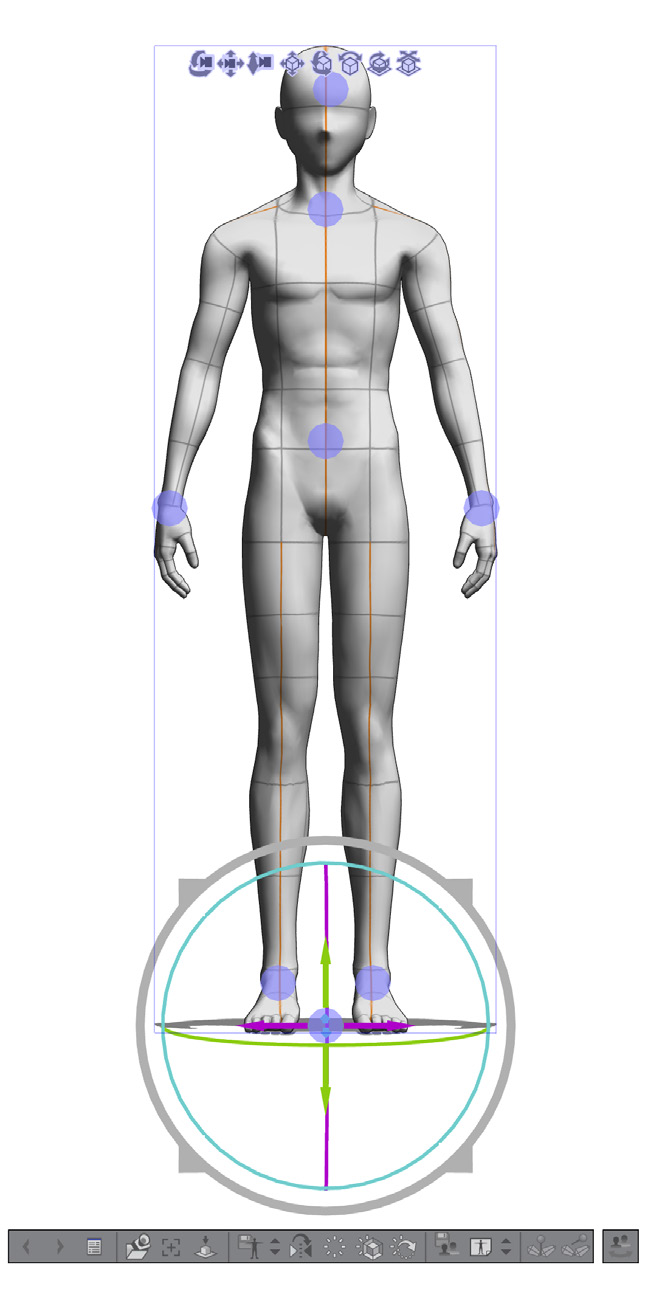
The positioning controls
When your cursor hovers over any of the rings, the ring will change colour, indicating that it is now active. Just drag to see the effect. The outer ring, for example, allows you to scale the figure. Others allow you to tilt, rotate or move the whole figure in perspective 3D space.
A further click on a highlighted body section will bring up similar edtiting controls for just that section.
Customising the Mannequin
Now click on this icon that’s at the far right of the little toolbar underneath your 3D figure.
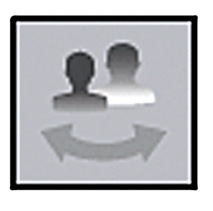
This opens up a contol panel that allows you to modify the actual body shape. You can elongate the body, make it thinner, fatter, with a stupidly big head or possesed of huge thighs! The amount of customisation you can apply to these figures is amazing. The controls for everything are too numerous to mention here, so I recommend just experimenting with all the 3D tool icons you can find. When your figure is as you want it, you can use it as the basis for a drawing on another layer.
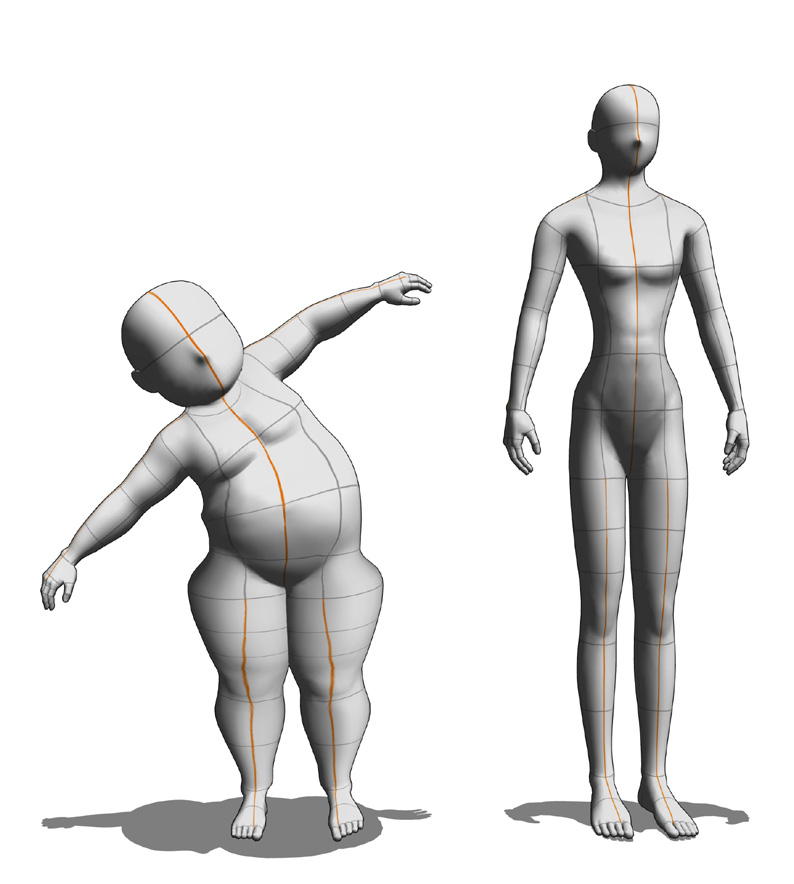
Modify the body shape
Modify the pose

No comments yet.